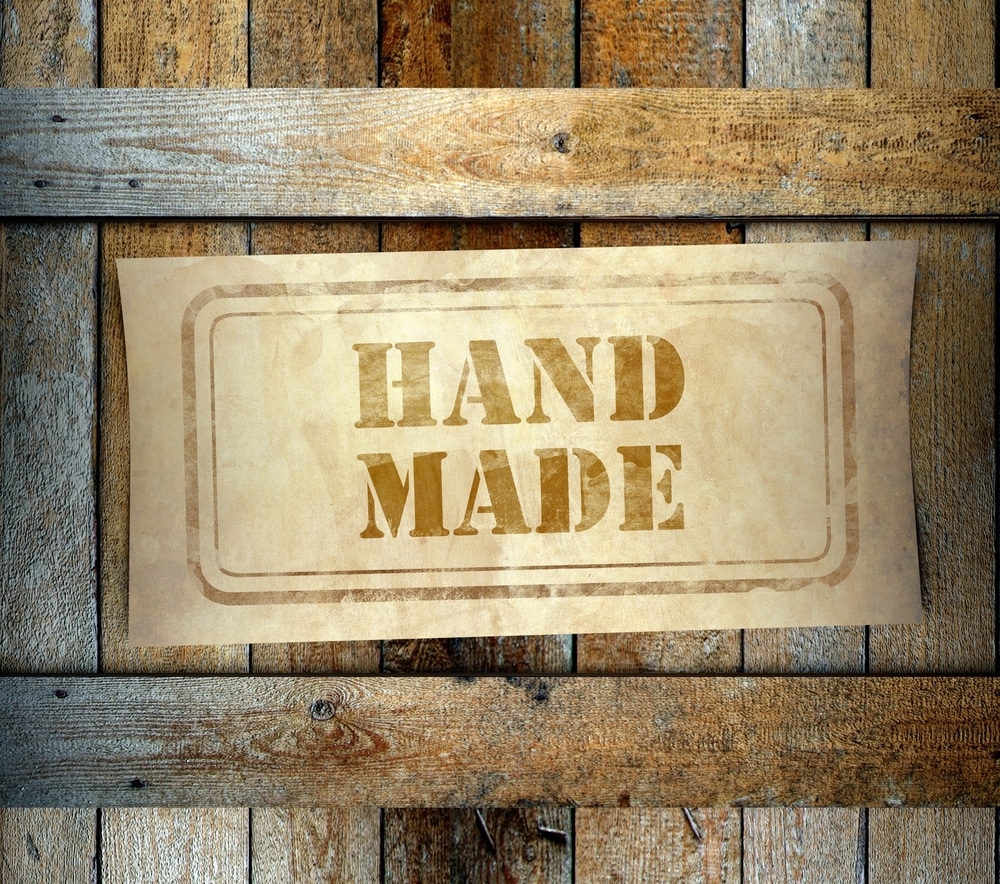
Everyone needs a weekend project and wooden boxes are the perfect cure for your weekend DIY itch! If you’re interested in how to make wooden boxes, you’ve come to the right place – at Australian Boxes and Cases, we create custom fit wooden boxes and crates every day.
Whether you’re a woodwork beginner or you’ve been in the game for a long time, a DIY wooden box is a great project, as it can be as sophisticated, basic or personalised as you like. We recommend leaving aside a few hours for this project, so you can really give your wooden box some love.
Before you take on any project, you need to make sure you have the right tools and materials to not only make the whole process run seamlessly, but to also keep you safe as you work.
Safety First
Safety is important in this, as the tools used can be dangerous – even if you know the tools like the back of your hand, care should always be taken to avoid serious injury.
Tools don’t know the difference between your hand and the wood, nor do they care if your loose shirt or necklace/chain gets caught up in a drill. Keep out of trouble by paying attention to each step of the process, wearing appropriate eye and breathing protection when required and always respecting the power of your tools.
Gather Your Tools
Now that we have established that safety comes first, we have to gather our tools. For this project, you will need:
- Saw
- Chisel
- Glue
- Clamps
- Wood
- Sand Paper
- Hinges
- Mitre Clamp (Optional)
- Hand Plane (Optional)
Use Good Wood
The star of this project is the wood, so take some time to choose the wood you want to use. The wood can be left over from another project, or you can buy some from your local hardware store.
Depending on the size of the box you want to make and the purpose of the box, some types of wood may work better than others.
Pine and maple ma look amazing for larger boxes, but for smaller, more delicate wooden boxes such as jewellery boxes, thin pieces of cedar, ash or oak are your best bet!
Where the Magic Happens
Now that we have all the materials and tools we need, you can stop wondering how to create a wooden box and start getting it done!
Step 1. Frame Me Up!
Before you create your masterpiece, you will need to decide on your box size – choose your length, height and width of your box and use a ruler or tape measure and a pencil to measure up your wood.
To create the frame of the box, you will need five pieces – one base, four sides. Using your saw – circular or hand saw – cut your pieces to size. Pro tip: cut the pieces one by one to ensure the cuts are precise, rather than cutting multiple at once and rushing them.
Once you have your pieces the length and width you want them, label them with a pencil to make sure you know where to glue your pieces later on.
Step 2. Put it together.
Lay down your base piece and carefully line up your first side piece. Glue along the side piece and push it against the base. Repeat three more times for your other sides, ensuring the side pieces are glued to the base and to each other along their vertical edges.
Leave the clamp on for two hours to allow significant time to dry.
Step 3. Outlid Them!
You can create a few different types of lids for your box; the type of lid will really depend on how you will use the box
For this particular box, we’ll create a hinged lid for our box, so we will need another five pieces of wood – four pieces for the “frame” and one for the top/lid. Just like the main frame and base of the box, we will create two “L” shapes by gluing two pieces together in an “L” shape. Clamp these pieces for two hours to let it dry before gluing the two “L” shapes together to create the frame.
For the top of the lid, use a thin piece of wood that is the full length and width of the frame. Glue the frame to the lid piece and leave it to dry.
One your lid is dry, measure up your lid and mark where the hinges will go. Lay out the hinges and square them to the top and sides of the lid to make sure the lid will open flawlessly.
Step 4: Finishing Touches
Sand the outside of your box with sand paper to get a nice clean finish, before you apply the finishing touches. To finish your box, you can apply a wood stain or even paint the box – the choice is all yours.
Creating your own wooden box is a great DIY project that can be a great gift for your partner, family or friends. The beauty of a DIY project is that the size, the look and the finish is all up to you!
If you’re after someone else to do the handy work on a custom box or crate, look no further than ABC Crates! We are Western Australia’s most trusted supplier of high-quality shipping and packaging materials made just for you.
Contact the team at ABC Crates today to see how we can create shipping and packing boxes specifically for you or your business.
Related News
Common Mistakes to Avoid When Using Wooden Pallets for Transport
Wooden pallets ensure your goods are transported safely and...
Keep Reading
Creative Ways to Repurpose Wooden Crates: From Storage to Stylish Décor
Have you ever thought about taking a simple wooden...
Keep Reading
The Versatility of DIY Pallet Furniture
In the world of interior design and home decor,...
Keep Reading Enquire Today